Several Tips for Showing the Best of a Person
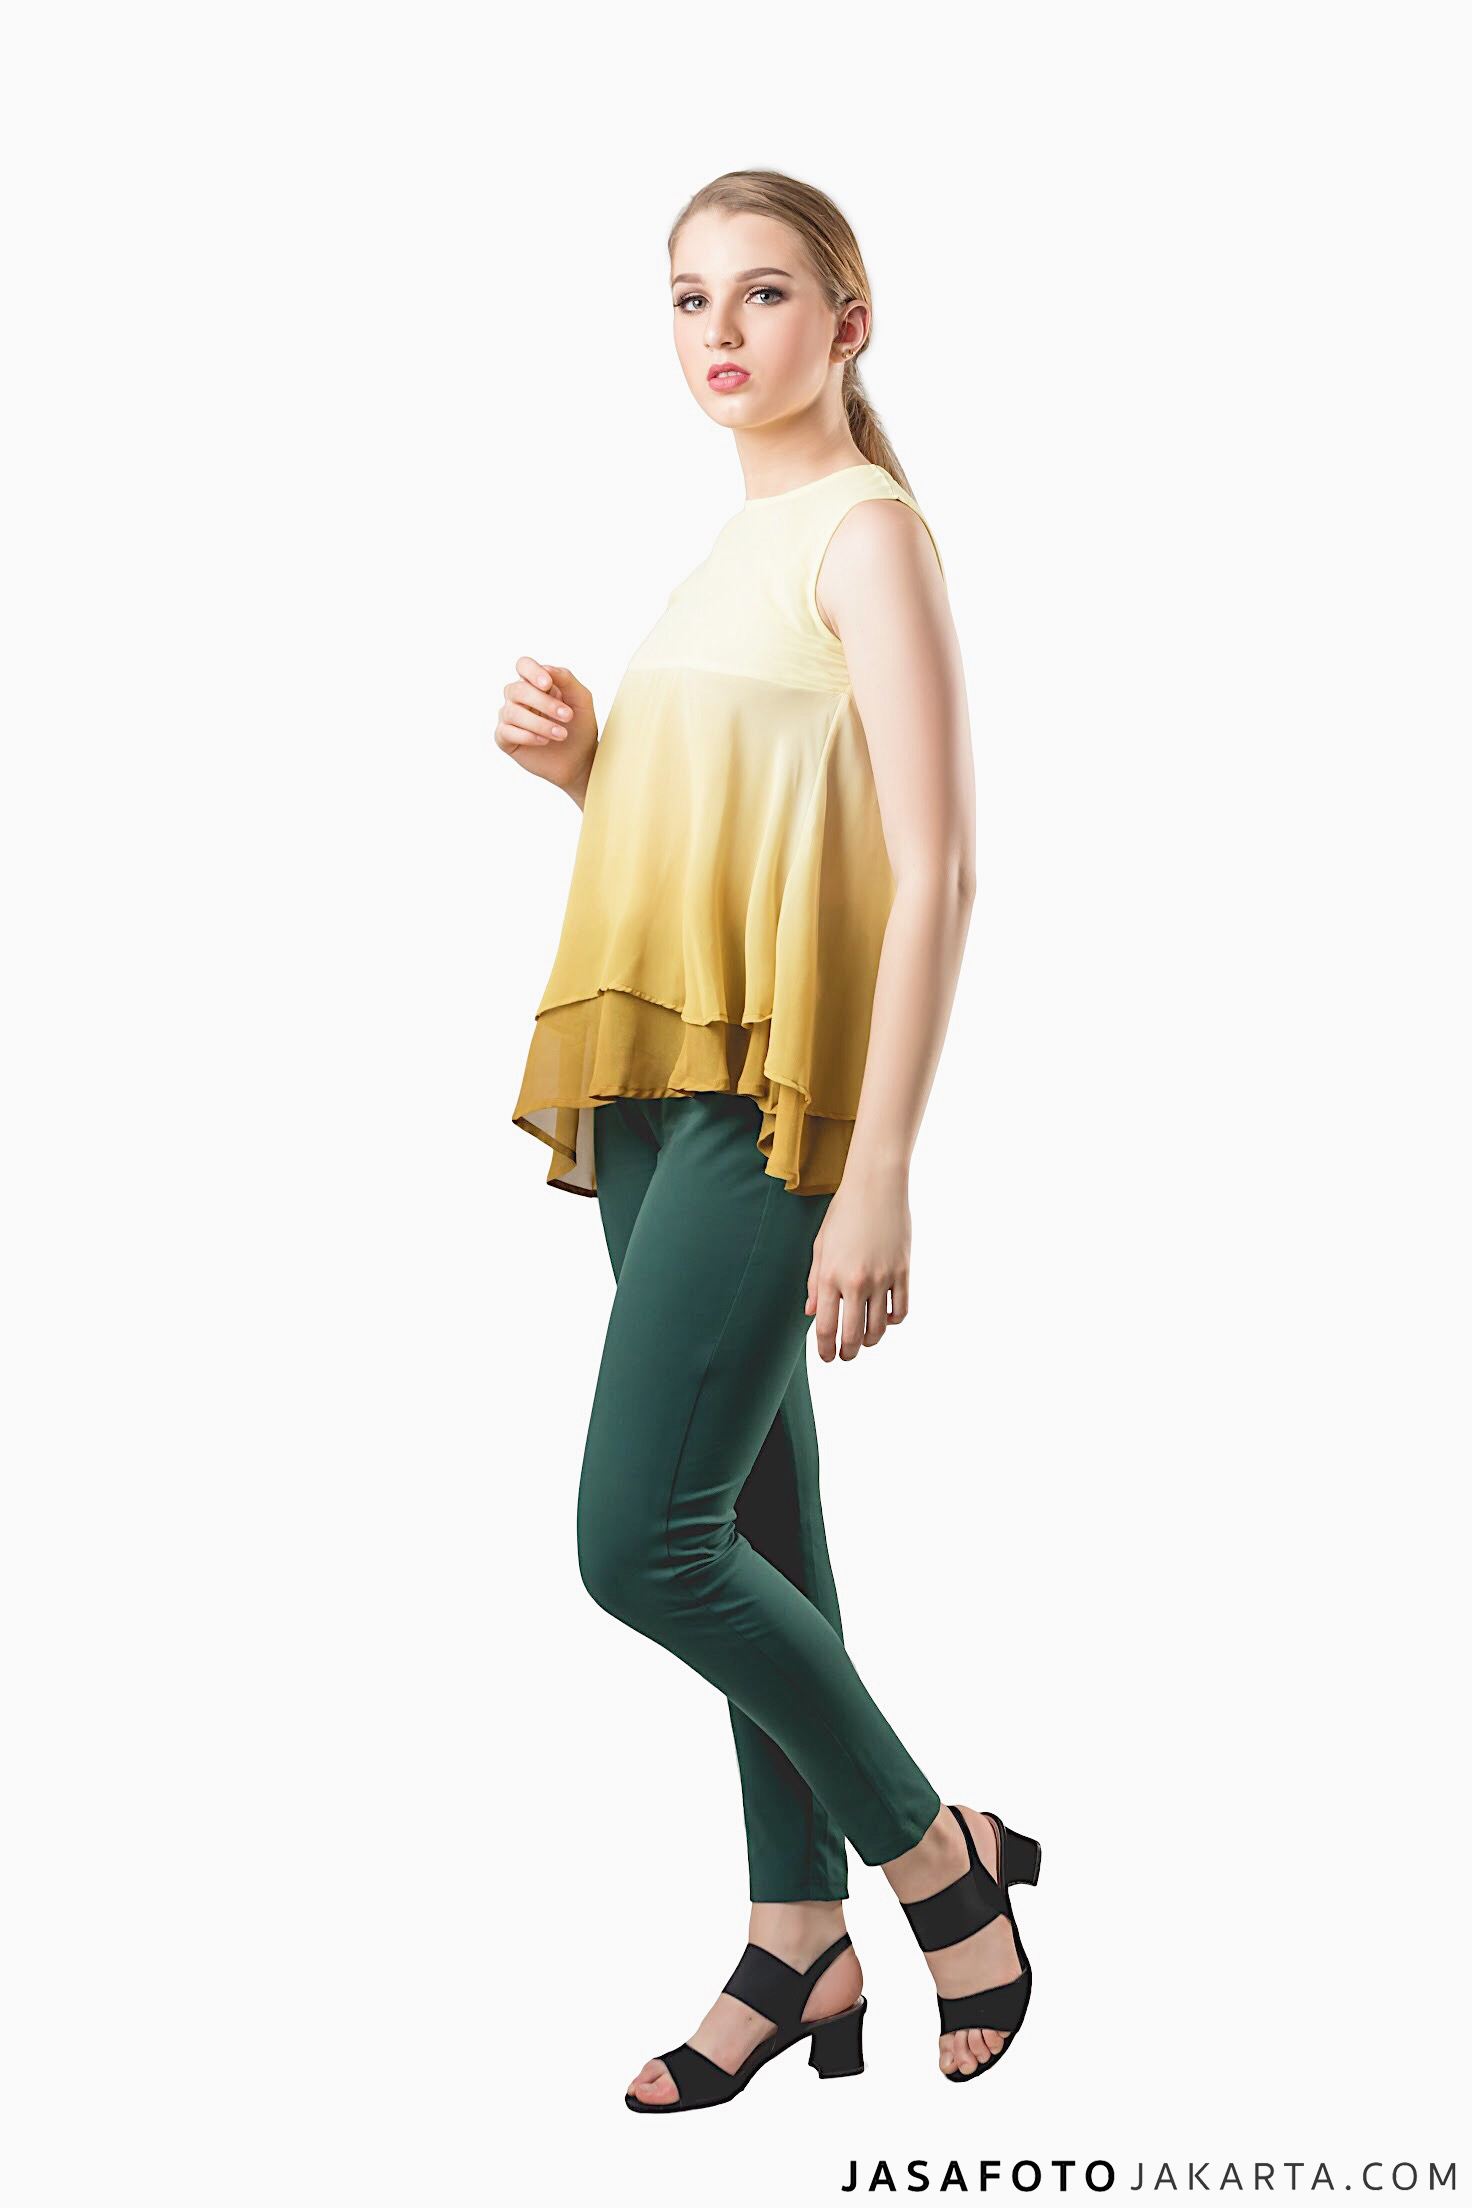
Creating professional-looking portraits of people is more difficult than you think, because of the reasons that professional photographers use model that is really pretty and handsome. Which as you know someone who could be a model of someone who looks good when in portrait. But the problem is, we are not surrounded by a flawless-looking models. We usually take portraits of our friends that many of (the visual scale) located between Mr.Bean and Jabba the Hut from Star Wars. That’s why we work as a portrait photographer really challenging for the professional photographers, because we had to juggle people who looks absolutely nothing to be like the model. For more tips we will show but you have to read to the end to find out all the tips and tricks take portrait photos like a professional.
Never Leaving Too Much Headroom
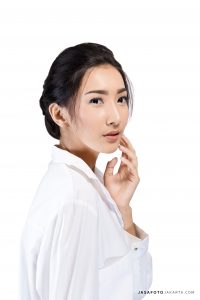
Most people take photos of a subject (model) they almost always leaving space above the subject’s head that too much (like the photo you see on the left). This is a classic mistake that is often made by most amateur. To avoid such errors is easy, do not leave much space. The formula for portrait photos of your subject’s eyes are positioned in the top one-third frame, then you will avoid this problem.
Peak Head Cutting
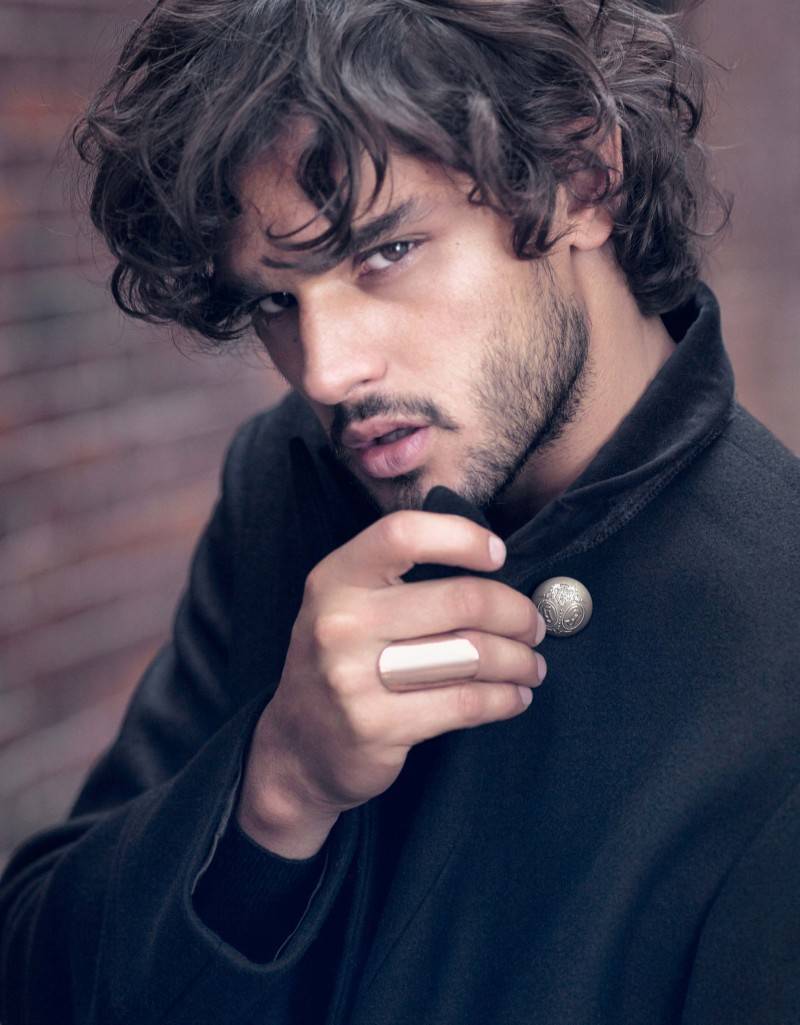
This is the second step in a portrait after the step “do not leave too much headroom”. In this technique, you would just cut the top of your subject’s head. It is a professional technique that is very popular. This technique fill your frame with the subject’s head, this composition makes the photo display more interesting. You can see the composition technique is everywhere and has become the main stream of photographers of fashion, beauty, and portrait.
For the Note: cut off the peak of the subject’s head is not a problem, nor cut one side of the hand, shoulder, hair etc. But one thing you should not to cut that is part of the chin. If the chin is cut, then the composition of the photo will look very bad.
Make Your Subject Look More Slim
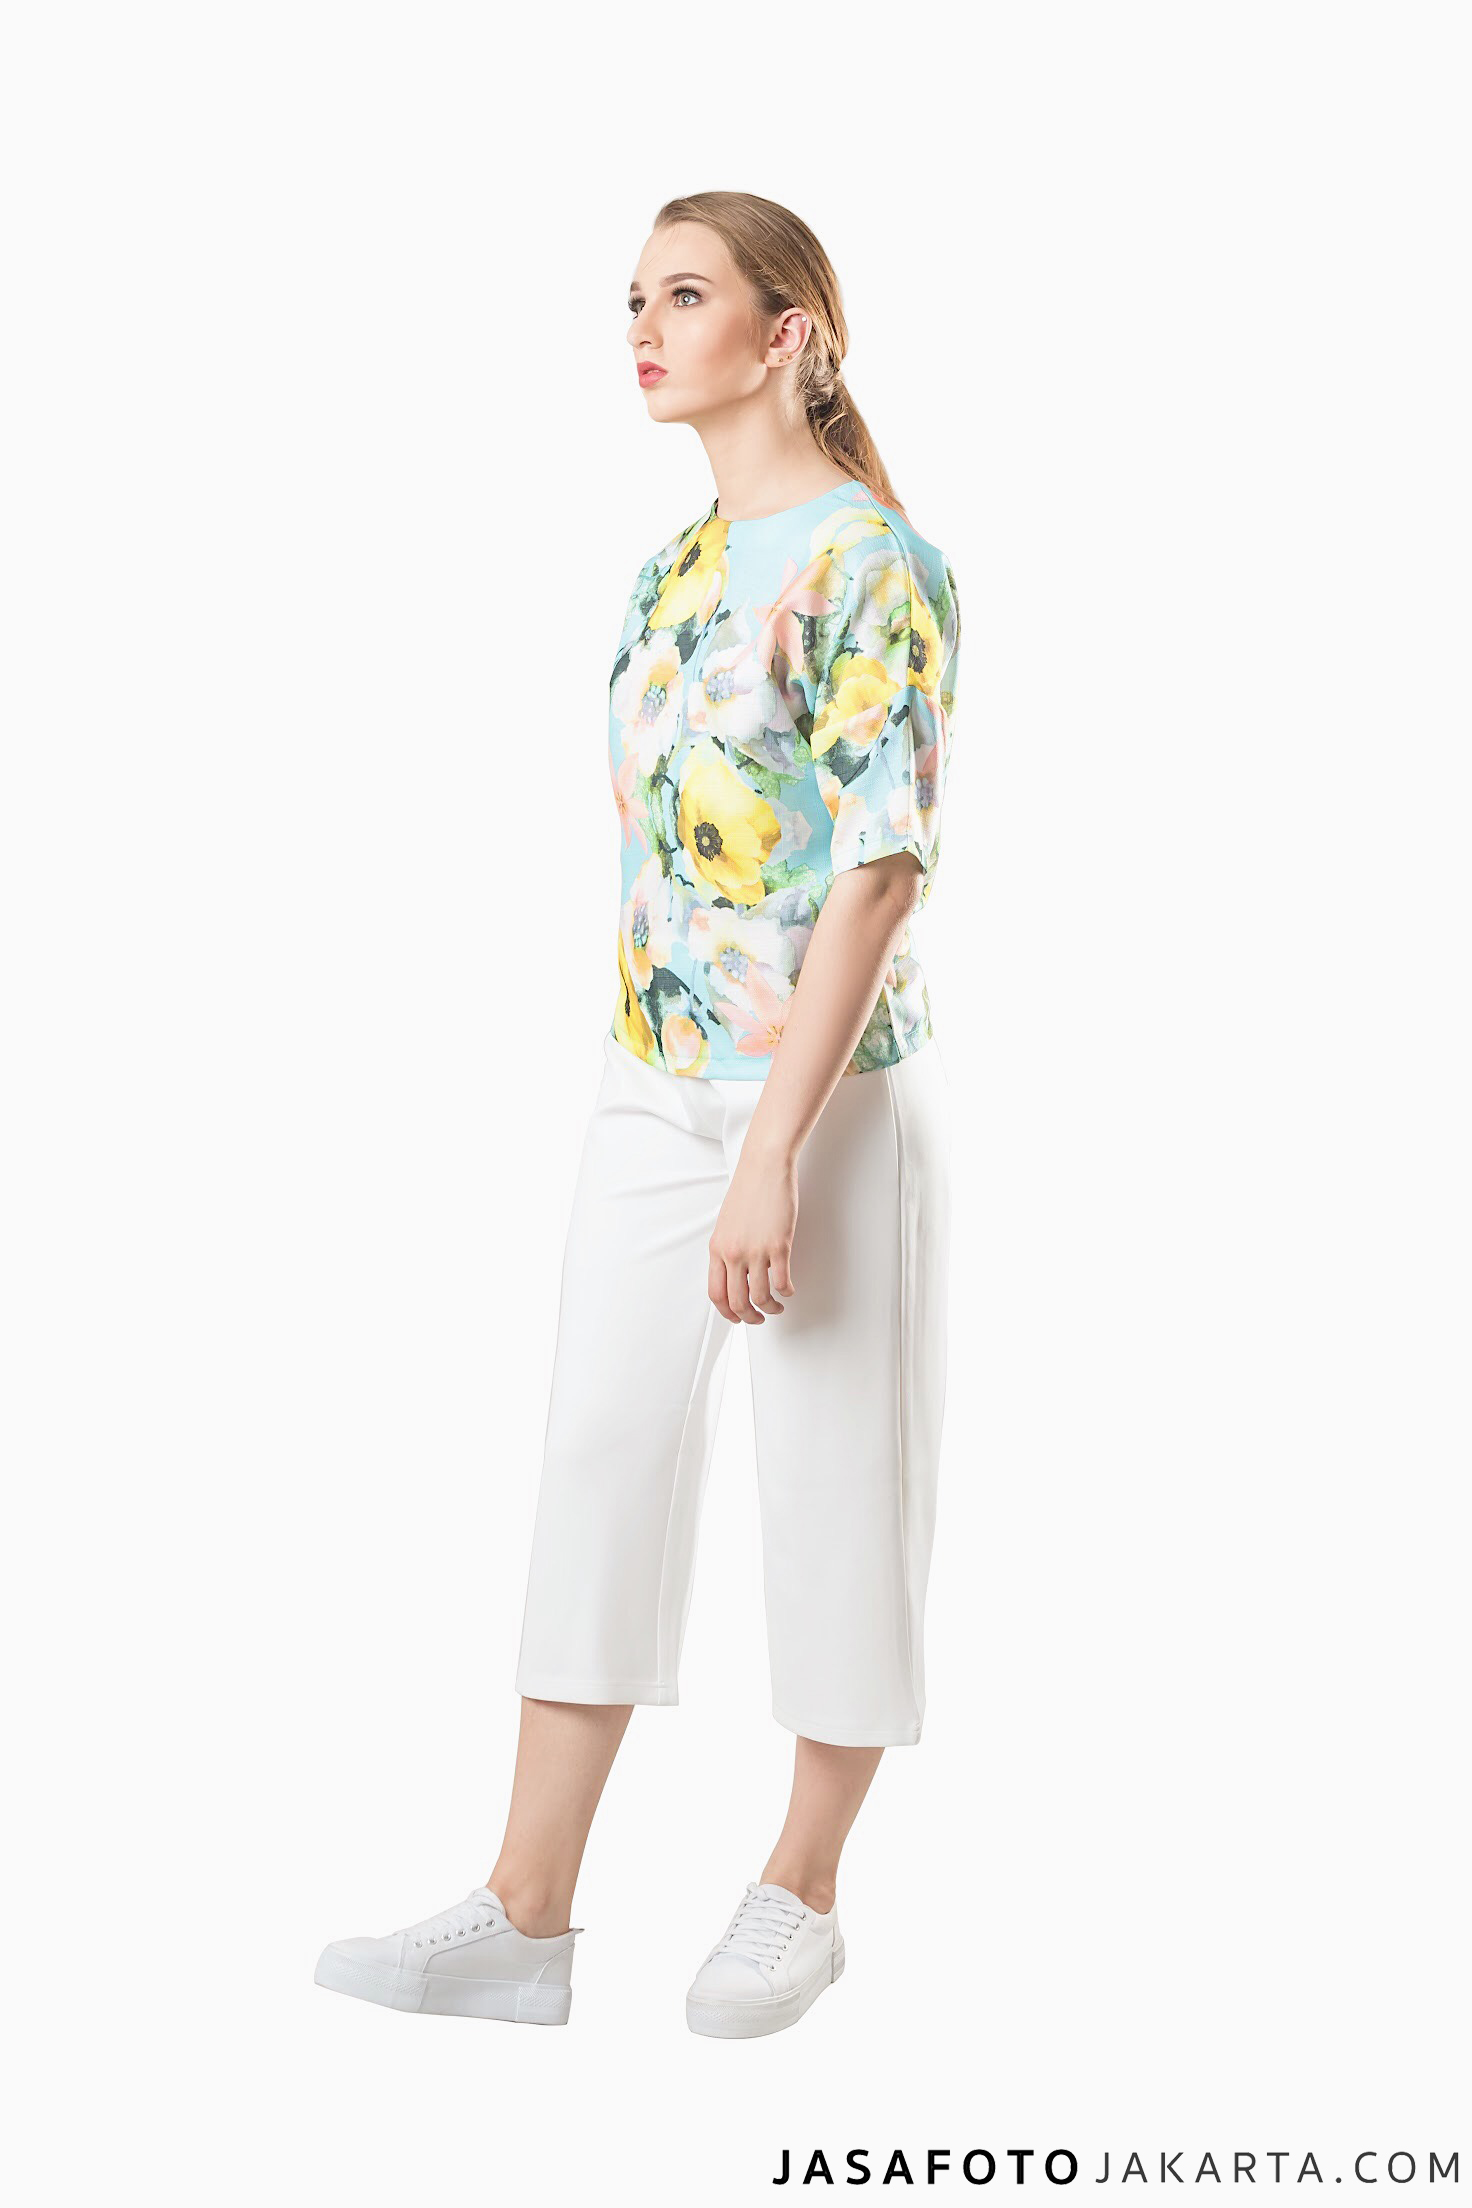
If you want to make someone look more slender body, positioning her to not touching the body. Leave a little gap between your hands and body so the hands will not raise the figure body mass and become larger. You will see this trick used in the celebrities and fashion photography. Another trick is asking the subject directly to leads to the upper body and the lower body turned away from the camera (oblique). And this is one little trick to make major changes.
Shoting With Portrait Orientation And Tools To Make It Easier
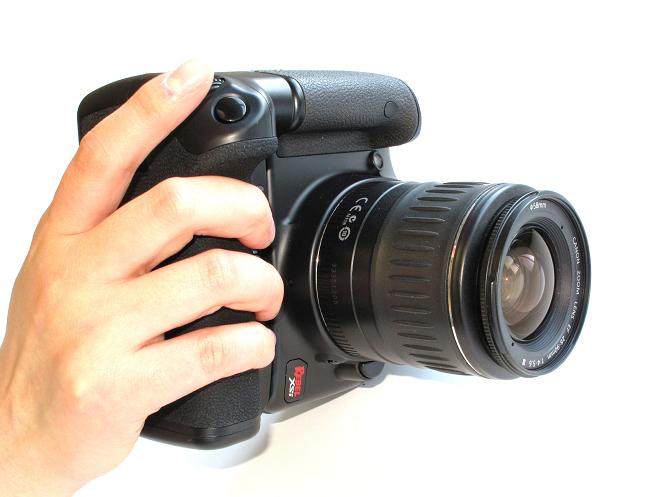
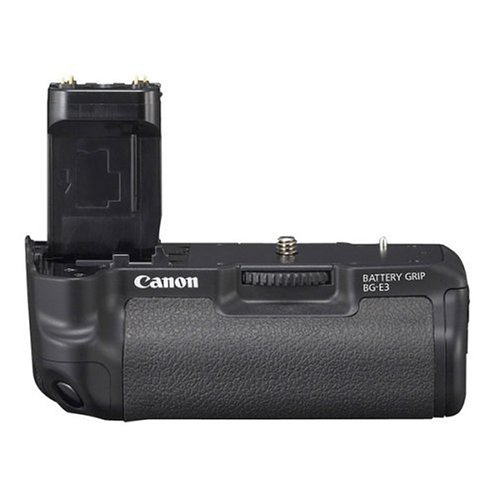
Most of the photos were taken with a horizontal orientation (landscape) and it makes sense, because the camera was designed with such a position. That’s why the shutter button is in the upper right corner position, right where your fingers are. But to take portrait photos would be better taken vertically. When you create your portrait photo with position vertical orientation, over time you will feel tired to reach the top of the camera to press the shutter button. When it happens you need a very helpful tool that is battery grip (vertical grip accessories contains additional battery).
Besides allowing you to use two batteries that can shoot longer without having to recharge the battery, there is another great advantage. Namely these tools include a button to set the shutter and aperture settings and shutter speed with vertical orientation. Then a sense of comfort you when shooting vertically as comfortable as you shoot horizontally. But one thing you need to know that, not all battery grip has a vertical shutter button, so check to ensure this.


